Nail trimming for dogs – it’s a procedure that, for many owners, turns into a proper battleground. Your beloved pet wriggles, whines, pulls their paws away, and you’re left feeling a mix of despair, guilt, and stress. Sound familiar? You’re certainly not alone. Hundreds of thousands of loving pet parents all over the world face this very challenge. But there’s good news: it’s absolutely possible to transform this dreaded task into a calm and straightforward routine. It doesn’t require force or endless pleading, but rather the right approach, patience, and a good understanding of your four-legged friend’s psychology. In this article, we’ll break down how to gradually and stress-free get your dog comfortable with nail trimming. You can find out more on Tvaryny.
Our goal isn’t just to give you a “how-to cut” guide, but to help you build trust between you and your dog so that nail care stops being a cause for panic. We’ll go through the whole journey: from understanding the reasons behind their fear to choosing the ideal tool and a step-by-step action plan.
Why do dogs hate nail trimming so much? Understanding the root of the problem
Before you pick up the clippers, it’s really important to understand why your dog puts up such a fuss about having their nails trimmed. It’s not about stubbornness or trying to annoy you. Usually, the reason lies in one or more of these factors:
- Negative past experience. Perhaps the procedure was painful in the past. One careless snip into the quick (the live part of the nail with nerves and blood vessels) can forever cement the association “clippers = pain”.
- Fear of the unknown. Dogs are creatures of habit. A strange tool, an unusual clicking sound, being held still – all of this can be quite frightening if the animal hasn’t been prepared for it in advance.
- Sensitive paws. For many dogs, their paws are a very sensitive area. They don’t like being touched, held, or squeezed, and this is a natural defensive reaction.
- Your own anxiety. Dogs are incredibly good at picking up on our emotions. If you’re nervous and pick up the clippers, already expecting a struggle, your dog will instantly sense this, and their anxiety will only intensify.
Understanding these reasons is the first step towards solving the problem. We won’t be “fighting” with your dog. We’ll be working with their fear, gradually changing negative associations into positive ones.
Preparing for “manicure”: Your arsenal for success
Proper preparation accounts for 80% of your success. You can’t just suddenly decide “we’re trimming nails today” and expect a miracle. You need to create the right conditions.
1. What to use for dog nail trimming: Choosing the ideal tool
The market offers a few types of tools. Your choice will depend on your dog’s size, the thickness of their nails, and your personal preferences. Here are some typical prices you might find in the UK:
- Scissor-style clippers. These look like regular scissors but have indentations on the blades. They’re great for small and medium dog breeds with thinner nails and allow for good control. You can usually find these for around £5 to £15.
- Guillotine-style clippers. These have a hole where the nail is inserted, and a blade that slices it off. They’re very sharp and powerful, ideal for larger breeds. It’s crucial that the blade is always sharp; otherwise, it’ll crush the nail instead of cutting it. Expect to pay between £8 and £25 for these.
- Grinder (electric file). This tool doesn’t cut; it grinds down the nail. It’s an ideal option for dogs that are absolutely terrified of the clippers’ clicking sound, as well as for those with dark nails where the quick is hard to see. A grinder allows you to file the nail down millimetre by millimetre, which minimises the risk of injury. The downsides are the noise and vibration, which your dog will also need to get used to. Grinders typically start from about £15.
2. Creating a calm atmosphere
Never try to trim your dog’s nails when they’re excited, just back from a walk, or actively playing. Choose a time when they are as relaxed as possible – perhaps sleeping or dozing after a meal. Carry out the procedure in a quiet, familiar place where you won’t be distracted. Get everything ready in advance: the tool, treats, and a styptic powder or similar clotting agent (just in case).
3. “Arm yourself” with treats
Positive reinforcement is your main ally. Prepare your dog’s absolute favourite goodies – those they get very rarely. This could be a tiny piece of cheese, some cooked meat, or special training treats. These will be a powerful motivator. A small bag of high-quality training treats typically costs around £2 to £5.
Step-by-step plan: How to get your dog used to nail trimming
Forget about speed. This process can take anywhere from a few days to several weeks. The main rule: one small step at a time. Only move on to the next stage when your dog performs the previous one calmly and without resistance.
Step 1: Getting acquainted with the “monster” (the tool)
Goal: Your dog needs to understand that the clippers aren’t scary.
- Place the clippers or grinder on the floor.
- When your dog approaches and sniffs it, praise them enthusiastically and give them a treat. Repeat this several times throughout the day.
- The next day, pick up the tool. Call your dog, show them the clippers, and immediately give them a treat. Repeat.
- If you’re using clippers, simply click them in the air, mimicking the sound of trimming. Click – give a treat. If it’s a grinder – turn it on for a second at the lowest power. Turn it on – treat.
Step 2: Getting used to paw touches
Goal: Your dog calmly allows their paws to be touched.
Many dogs who are afraid of nail trimming generally dislike having their paws handled. Address this separately from the trimming itself.
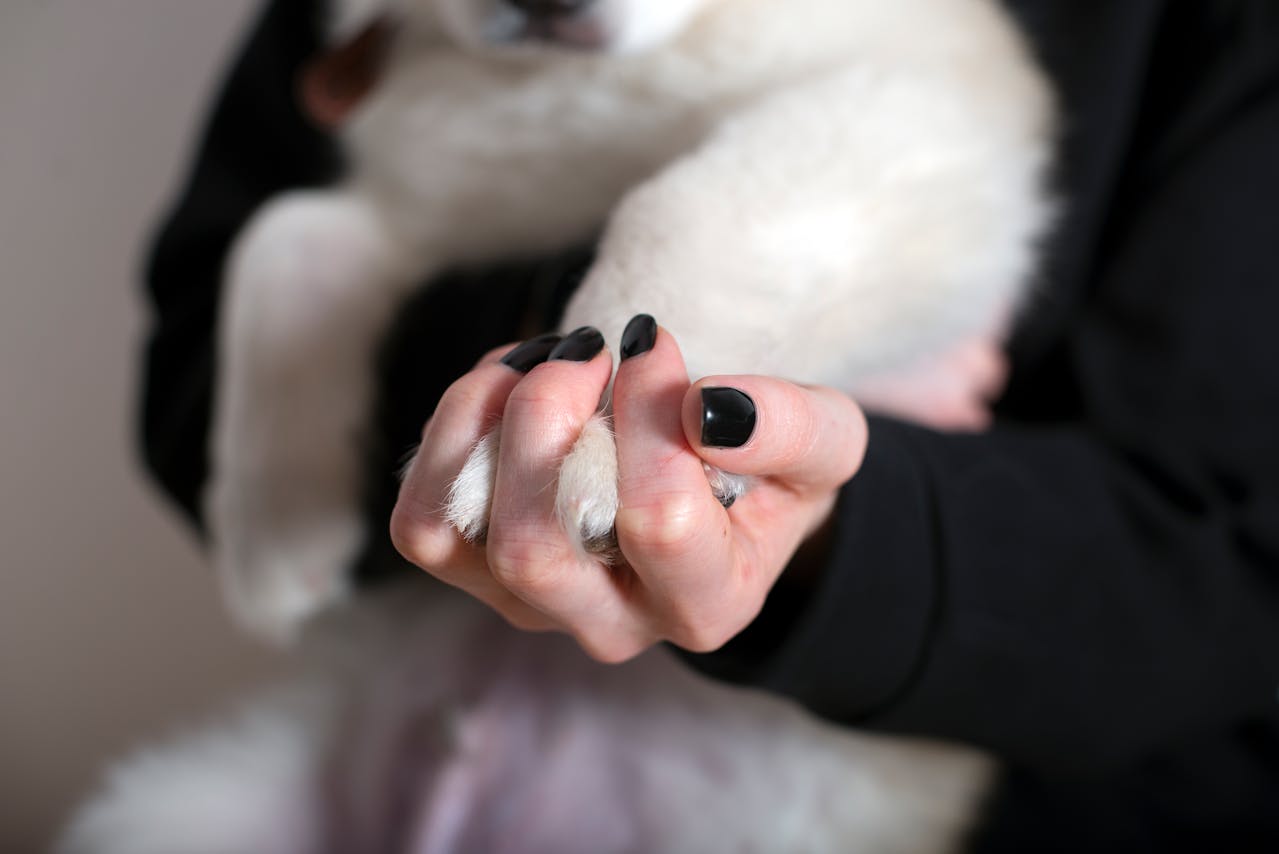
- When your dog is relaxed, gently touch their paw for a second. Immediately praise them and give a treat.
- Gradually increase the contact time: take their paw in your hand for 2-3 seconds, praise, release, give a treat.
- Continue until you can calmly hold your dog’s paw in your hand, gently massage the paw pads, separate their toes, all without any resistance from them.
Step 3: Combining the tool and touches
Goal: Your dog doesn’t panic when the tool touches their nails.
- Hold your dog’s paw in one hand and the tool (without turning it on or clicking it) in the other.
- Gently touch the metal part of the clippers to one nail. Just a quick touch for a second. Immediately praise and give a treat.
- Repeat this until your dog stops paying attention to the tool touching their nail.
Step 4: The first trim – just one nail!
Goal: To trim one nail without stress.
Once all previous steps have been successfully completed, you can try trimming ONE nail. Don’t try to give a full “manicure” on all paws at once!
- Secure the paw, but don’t squeeze it tightly. Gently press on the paw pad with your thumb to push the nail out a little.
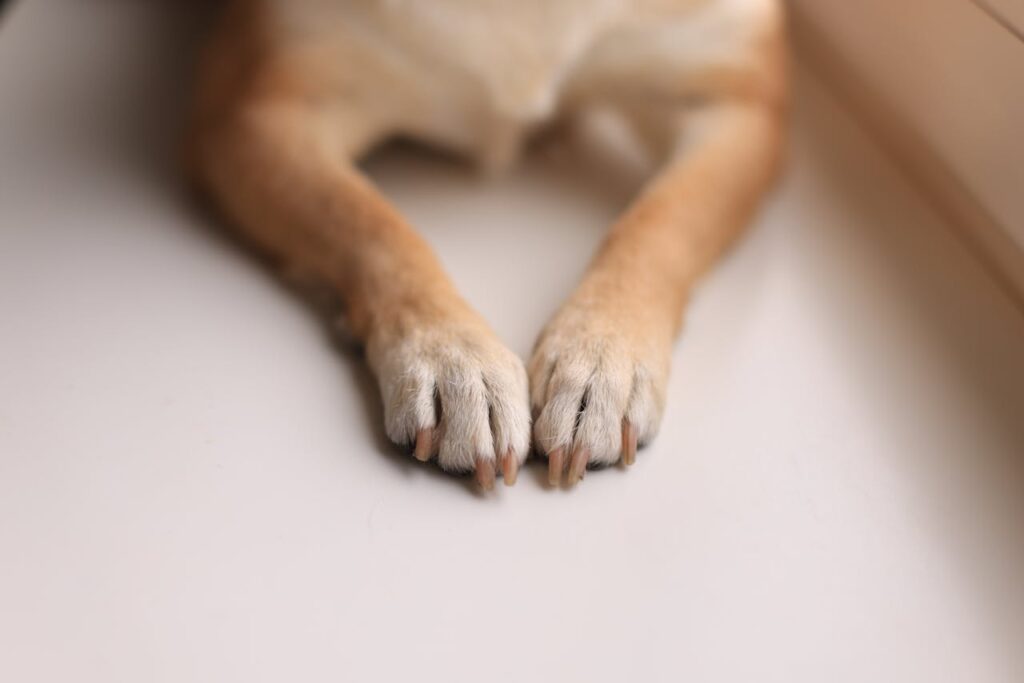
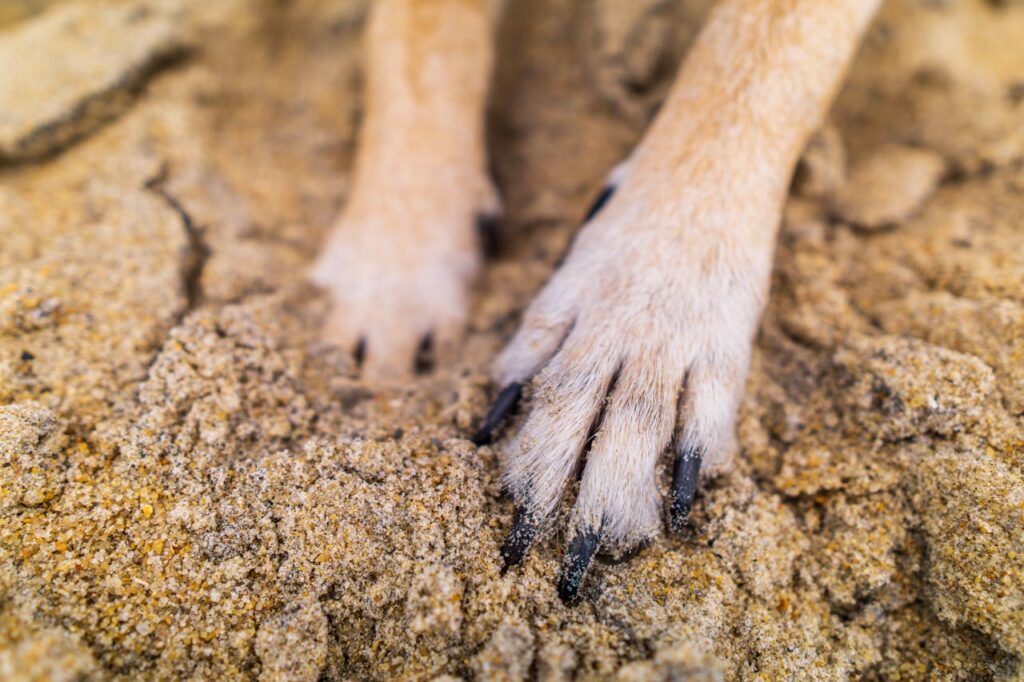
- Attention! Where to cut? On light-coloured nails, you can clearly see the pink part – the quick. You should only cut the white tip, staying 2-3 mm away from the quick. On dark nails, the quick isn’t visible. In this case, the rule is “less is more”. Cut only the very tip, literally a millimetre at a time.
- Make one swift and confident movement.
- Immediately after the “snip,” throw a “party”: lavishly praise your dog, give them a whole handful of treats, and play with them.
- That’s all for today! Even if your dog was calm. Your aim is to leave them with a positive impression. The next day, trim another nail. And so on.
What to do if you hit the quick?
Even experienced owners can do this. The main thing is not to panic.
- Stay calm. Your panic will only increase your dog’s fear.
- Stop the bleeding. Always have special styptic powder (available at pet shops, usually costing around £8 to £15), or ordinary cornflour or even potassium permanganate, at hand. Apply a little powder to a cotton pad and press firmly against the nail for 30-60 seconds.
- Comfort your dog. Once the bleeding stops, give your dog plenty of treats and affection. Don’t blame yourself or make a tragedy out of it.
- Take a break. Postpone nail trimming for a few days to prevent the negative experience from sticking.
Alternatives for the most sensitive: Grinder and “scratchboard”
If your dog absolutely won’t tolerate clippers, don’t despair. There are other methods available.
Using a grinder
Getting your dog used to a grinder follows the same pattern as with clippers, but with an emphasis on habituating them to the noise and vibration. A grinder slowly files down the nail, making it almost impossible to injure the quick. This is an excellent choice for dogs with dark nails. Start by grinding for 1-2 seconds per nail, gradually increasing the time.
The “scratchboard”
This is typically a wooden board covered with sandpaper. You teach your dog to “dig” or scratch it with their paws to get treats. During this process, the nails on their front paws are naturally worn down. This method isn’t suitable for hind paws and requires separate training, but for many dogs, it turns into a fun game.
Key mistakes to avoid
- Rushing. Trying to do everything in one go is a recipe for disaster.
- Forceful restraint. Piling on your dog, shouting, holding them down by force – this will only heighten their fear and destroy trust.
- Punishment. Never punish your dog for being scared. They won’t understand your displeasure; they’ll just become even more convinced that something terrifying is happening.
- Ignoring body language. If your dog is licking their lips, yawning, turning their head away, or tucking their tail – these are signs of stress. Stop and try again later.
Conclusion: Patience and love – your main tools
Getting a dog who hates having their nails trimmed accustomed to the procedure is a marathon, not a sprint. The key to success lies in consistency, patience, and the ability to see the world through your pet’s eyes. Instead of battling their fear, work on creating new, positive associations. Every small step, even if it’s just a calm touch to their paw, is a big victory.
Remember, healthy and well-maintained nails aren’t just about aesthetics; they’re also a vital part of your dog’s musculoskeletal health. By investing time and patience in proper training today, you’re ensuring your four-legged friend’s comfort and well-being for many years to come.