

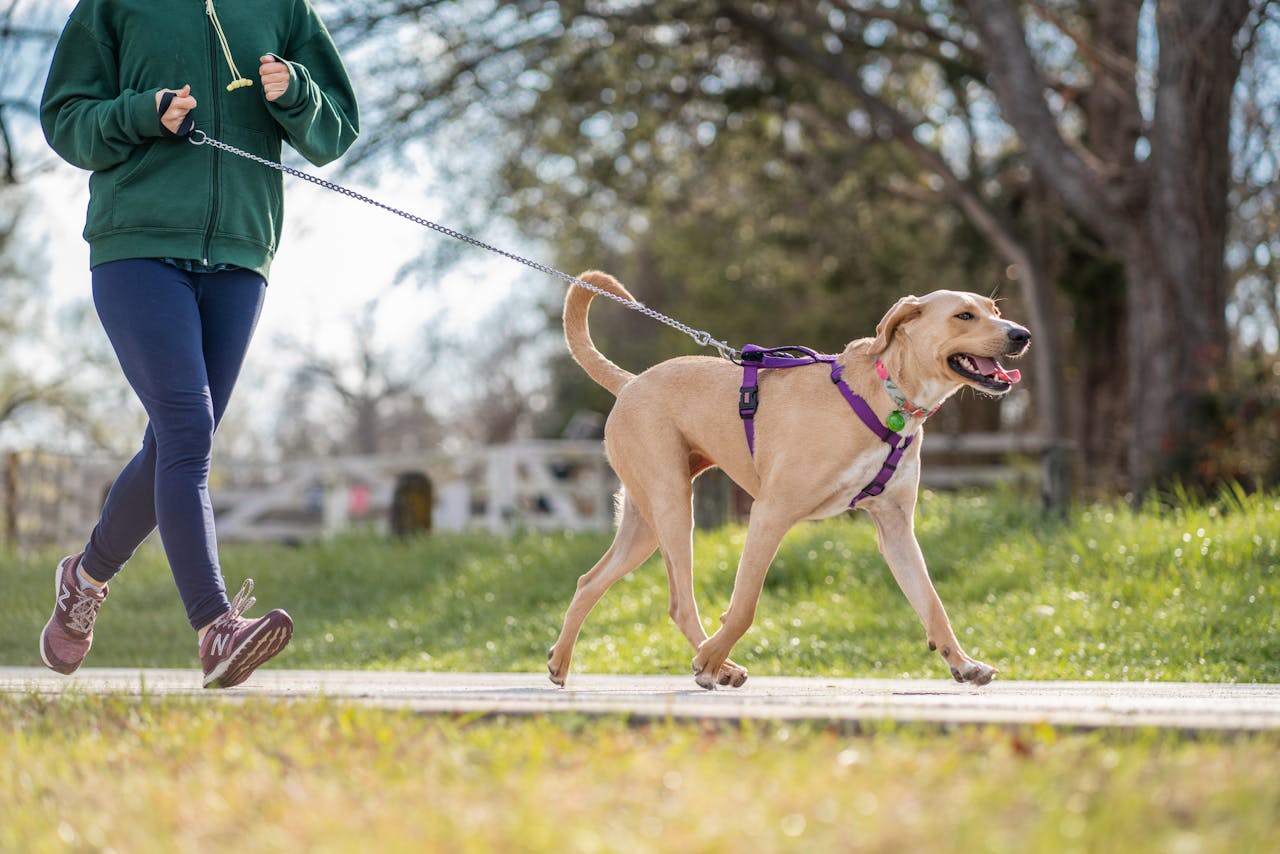
A walk with your dog should be a pleasant experience for both you and your four-legged friend. However, if your pet constantly pulls on the lead, turning every outing into a real test of strength and patience, the joy of your time together can quickly fade. Fortunately, teaching a dog to walk nicely on a loose lead is a perfectly achievable goal, though it requires consistency, understanding, and the right approach. Do you dream of calm, controlled walks, where your dog trots obediently by your side with the lead slack? Then this article is just for you. We’ll take a detailed look at the reasons for this behaviour and provide a step-by-step guide on how to effectively teach your dog good manners on the lead. Why this is important and how to succeed – find out more on Tvaryny.
Why Do Dogs Pull on the Lead? Understanding the Reasons – The First Step to Solving the Problem
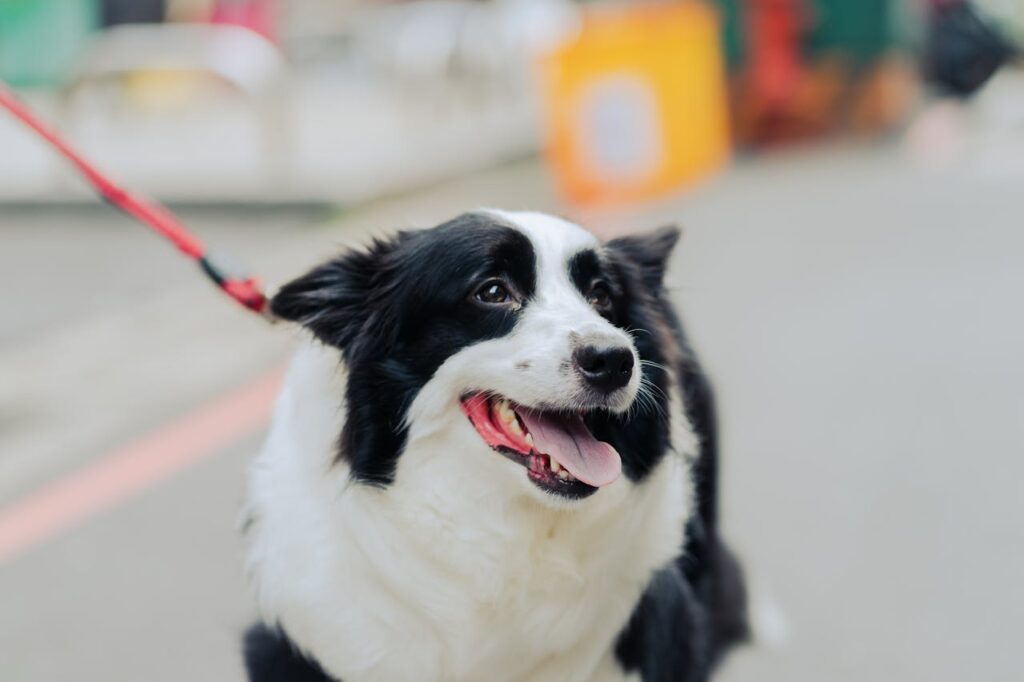
Before you start training, it’s important to understand why your dog pulls on the lead in the first place. It’s not a sign of dominance or stubbornness, as is sometimes mistakenly believed. More often than not, there are perfectly natural reasons behind it:
- Natural Pace and Curiosity: Dogs naturally move faster than humans. Their world is full of exciting smells, sounds, and sights that they’re eager to investigate immediately. The lead restricts their freedom, so they pull to get to an interesting spot or scent more quickly.
- Over-Excitement: The outside world is a stimulating environment. The joy of a walk, meeting other dogs or people, the urge to run – all these can cause intense excitement, which often results in pulling on the lead.
- Accidental Reinforcement: Owners often inadvertently encourage pulling. If a dog pulls on the lead and gets what it wants as a result (like reaching a bush to sniff), it learns that pulling is an effective way to achieve its goal.
- Lack of Physical and Mental Exercise: A dog that doesn’t get enough exercise and mental stimulation at home may release pent-up energy during walks, partly by pulling on the lead.
- Lack of Training: Many dogs have simply never been taught how to walk properly on a lead. They don’t understand what’s expected of them.
- Unsuitable Equipment: Sometimes the problem can be an uncomfortable or poorly fitted collar or harness, which causes discomfort and makes the dog want to get free of the restriction quickly.
Understanding these reasons will help you choose the most effective training methods and be more patient and consistent in your actions.
Preparing for Training: The Right Equipment and Motivation
Before you head out for your first training session, you need to sort out a few important things: choosing the right equipment and preparing an effective motivation system for your pet.
Choosing Equipment: Collar or Harness? Which Lead is Best?
Choosing the right equipment is crucial. Ill-fitting or unsuitable gear can not only make training more difficult but also cause your dog discomfort or even injury.
- Collar: A standard flat collar is suitable for dogs that already know how to walk on a lead or are easy to train. It’s important that it’s fitted correctly (you should be able to slip two fingers underneath it comfortably). Never use choke chains, prong collars (also known as pinch collars), or shock collars! These tools cause pain and fear, destroy the trust between you and your dog, and can lead to serious physical and psychological problems. Modern dog training principles condemn the use of aversive equipment.
- Harness: This is often a better choice for many dogs, especially those prone to pulling, as well as for brachycephalic (short-nosed) breeds or those with neck or respiratory problems. Harnesses distribute pressure more evenly across the dog’s body. There are various types of harnesses:
- Standard harnesses (with a back clip): Comfortable for the dog, but can encourage pulling in some individuals as the attachment point is on the back.
- No-pull harnesses (with a front clip): These have a D-ring for the lead on the chest. When the dog pulls, the lead gently turns them sideways towards the owner, which helps to reduce pulling without pain or discomfort. This is one of the most humane and effective options for training.
It’s important to choose the right size and model of harness to ensure it doesn’t chafe or restrict your dog’s movement. - Lead: The optimal lead length for training is 1.5-2.5 metres (approximately 5-8 feet). It shouldn’t be too short, so the dog has a bit of freedom, nor too long, so you can maintain control. The material should be strong and comfortable for your hand (nylon, canvas, leather). Retractable leads (flexi-leads) are not recommended for teaching loose-lead walking, as they constantly create tension and teach the dog to pull to move forward.
Motivation: Treats and Praise
Training with positive reinforcement is the most effective and humane method. You will need:
- High-Value Treats: These should be small (so the dog can eat them quickly and not get distracted), soft, and highly desirable pieces of something tasty for your pet (cooked meat, cheese, special training treats). It’s important that they are more appealing than their regular food.
- Verbal Praise and Enthusiasm: Don’t forget to praise your dog with a happy, encouraging voice (“Good dog!”, “Well done!”, “Yes!”) when they get it right. Your positive emotions are a powerful motivator.
- Toys (if needed): For some dogs, a short game with a favourite toy can be the best reward.
Get a handy treat pouch so your treats are always within easy reach during training sessions.
Step-by-Step Guide: Teaching Your Dog to Walk to Heel
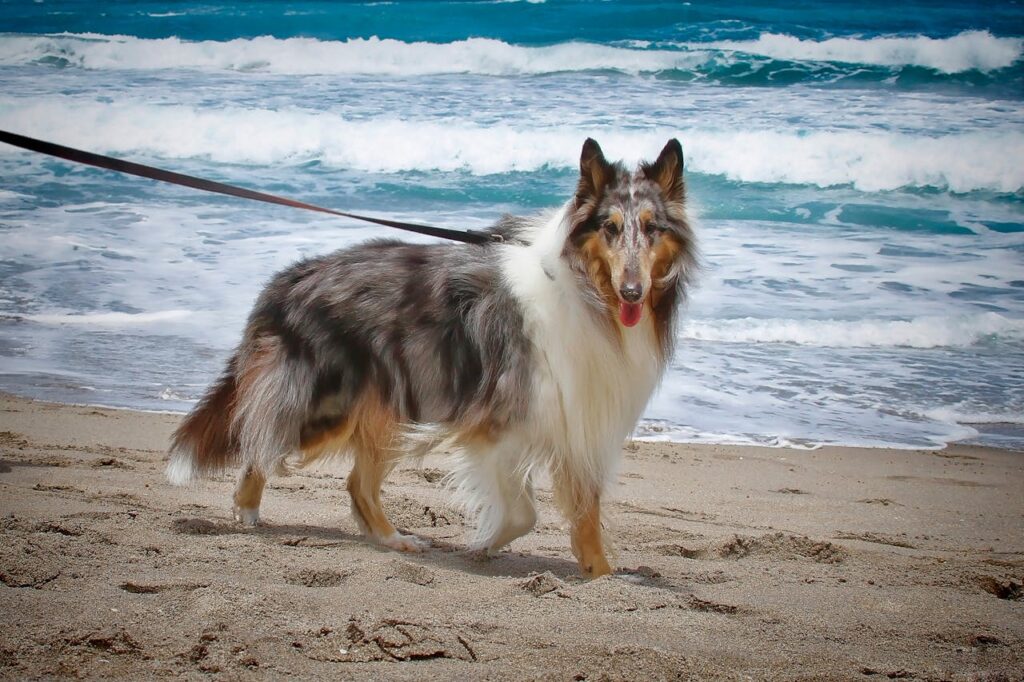
Now that you’re prepared, you can get straight into training. Remember: consistency, patience, and a positive attitude are your greatest allies.
Step 1: Getting Used to the Equipment
If your dog isn’t yet familiar with a collar/harness and lead, start with a positive introduction. Let your dog sniff the equipment, praise them, and give them a treat. Put the collar/harness on for a few minutes, distracting your dog with a game or treats, then take it off. Gradually increase the wearing time. Do the same with the lead, attaching it for short periods at home without pulling on it. The aim is to create pleasant associations.
Step 2: Training Indoors (or in a Quiet, Familiar Area)
Start training in a calm environment with minimal distractions – at home, in your garden, or in a very quiet, open space. This will help your dog concentrate on you.
- Hold the lead in the hand opposite to the side your dog will walk on (if the dog is on your left, hold the lead in your right hand, and vice versa). Your other hand holds the lead closer to the dog, but so it hangs in a loose loop.
- Get your dog’s attention (with their name or a sound).
- Start walking. As soon as your dog is by your leg (in the desired “heel” position) and the lead is slack, immediately praise them enthusiastically and give them a treat. To begin with, reward every step or two taken correctly.
- If the dog rushes ahead and tightens the lead: Stop immediately. Stand still (“be a tree”). Don’t pull the dog towards you, don’t jerk the lead, and don’t shout. Just stand motionless.
- Wait. As soon as the dog stops pulling and the lead slackens even slightly (even if the dog just glances back at you), start walking again, encouraging your dog.
- Alternative to stopping: You can also use the reverse direction method. As soon as the dog starts to pull, calmly turn around and start walking in the opposite direction. When the dog catches up and is beside you with a slack lead, praise them and continue walking in your intended direction.
- Introducing a cue (optional): When your dog starts to understand that they get a reward for walking beside you on a loose lead, you can introduce a verbal cue, such as “Heel” or “Close”. Say the cue just as your dog is walking correctly.
- Session length: Start with very short sessions (3-5 minutes) to avoid tiring your dog and to finish on a positive note. Gradually increase the duration.
Step 3: Moving Outdoors and Gradually Increasing Difficulty
Once your dog is consistently walking to heel in a familiar, quiet environment, you can gradually move the training sessions outdoors.
- Start in quiet places: For the first outdoor training sessions, choose a familiar route with minimal distractions (few people, dogs, or cars).
- Be prepared for setbacks: Your dog will find it harder to concentrate outdoors. Don’t be disheartened if results are initially worse. Just be patient and continue to use the same methods (stopping, changing direction, rewarding correct behaviour).
- Increase difficulty gradually: When your dog confidently walks to heel in quiet areas, gradually introduce more challenging environments: busier streets, parks, places where there are other dogs (but at a safe distance).
- Use high-value treats: Temptations are much stronger outdoors, so the reward needs to be particularly enticing.
- Don’t forget free time: A walk isn’t just about training. Allow your dog to sniff interesting smells and explore their surroundings (when you permit it, for example, with a cue like “Go play” or “Go sniff”). This helps satisfy their natural instincts and makes heelwork training more effective.
Step 4: Reinforcing the Skill and Maintaining Consistency
The key to success is consistency. Every walk is a training opportunity. Don’t let your dog pull on the lead, even occasionally, as this will undermine all your progress.
- Be patient: Training takes time. Different dogs learn at different paces. Don’t compare your pet to others.
- Practise regularly: Short, frequent training sessions are better than long, tiring ones.
- Involve all family members: It’s important that everyone who walks the dog follows the same rules and techniques.
- Don’t forget to reward: Even when your dog is walking well to heel, occasionally reinforce good behaviour with praise or a treat.
Common Problems and Their Solutions
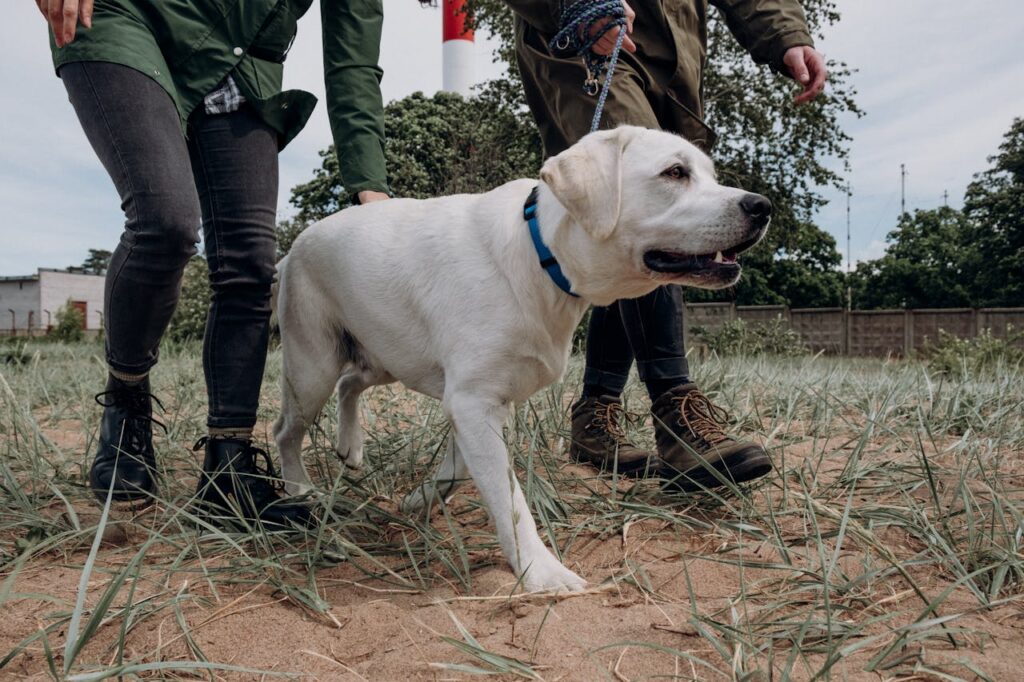
You may encounter certain difficulties during training. Let’s look at the most common problems and how to overcome them:
| Problem | Possible Cause | Solution |
|---|---|---|
| Dog pulls strongly towards other dogs/people | High excitement, desire to socialise, fear | Increase the distance to the trigger until your dog can remain calm. Work on counter-conditioning: as soon as your dog notices the trigger but isn’t yet pulling, give a treat. Gradually reduce the distance. Teach a “Look at me” or “Watch me” cue to redirect attention. |
| Dog lunges sideways towards smells/objects | High motivation to explore | Teach a “Wait” or “Heel” cue. Allow sniffing on cue (e.g., “Go sniff”) when the lead is loose. Use higher value treats to maintain focus. Practise changing direction. |
| Dog lies down or refuses to walk | Fear, tiredness, discomfort from equipment, not understanding the task | Check the equipment for comfort. Make sure the dog isn’t scared or tired. Make training sessions shorter and more fun. Go back a step in training, using more positive reinforcement. Don’t drag your dog. |
| Progress is very slow | Insufficient motivation, conditions too difficult, inconsistency, health problems | Re-evaluate the value of your treats. Simplify the task (return to training in a quieter place). Ensure all family members are acting consistently. Consult your vet to rule out medical reasons. Consider consulting a professional dog trainer or behaviourist. |
The Importance of Upbringing and Comfort: Links to Other Aspects of Your Dog’s Life
It’s important to understand that success in lead training is closely linked to your dog’s overall upbringing and well-being. A dog that feels safe, comfortable, and understands the rules will be calmer and more manageable on walks. For example, creating a safe personal space for rest, such as a crate or enclosure, can positively affect your dog’s overall emotional state. A well-rested and balanced dog is less prone to over-excitement when out and about. If you’d like to learn more about creating a comfortable space for your pet, check out our article on crate or enclosure training and how to make it your dog’s favourite place. Providing enough physical exercise and mental stimulation at home also reduces the likelihood of your dog releasing excess energy by pulling on the lead.
Conclusion: Patience and Consistency – The Path to Pleasant Walks
Teaching a dog to walk to heel and not pull is a process that requires time, patience, consistency, and an understanding of your pet’s needs. There are no magic methods that work overnight. Use humane methods based on positive reinforcement, choose the right equipment, and be consistent in your expectations. Remember that every walk is not just a training opportunity but also a time for bonding and strengthening the connection with your four-legged friend. Reward good behaviour, ignore or redirect unwanted behaviour, and stay calm and positive.
With time and practice, you will undoubtedly achieve your goal, and your walks will transform from a trial into a real pleasure. Good luck with your training!