Congratulations on the new member of your family! The arrival of a small, fluffy kitten in the home is always a huge joy. But along with the joy come new worries. One of the first and most important tasks facing happy owners is teaching the little one to use the litter tray. This isn't as difficult as it might seem at first glance, but it requires patience, consistency, and the right approach. We've put together the most comprehensive guide to help you teach your kitten good manners quickly and without stress. More on this later on Tvaryny.
In this article, we'll take a detailed look at how to choose the right litter tray and litter, how to create the ideal conditions for a kitten, go through a step-by-step action plan, and analyse the most common mistakes owners make.
Why are cats so clean? Understanding their instincts
Before you start, it's important to understand one thing: cats are born clean freaks. In the wild, they instinctively bury their 'traces' so that predators can't find them by smell. This instinct is embedded in them at a genetic level. Therefore, when you're teaching a kitten to use the litter tray, you're not so much teaching it something new as helping it to express its innate behaviour in your flat. Your task is simply to provide it with the right, convenient place for this.
Stage 1: Preparation - Creating the ideal conditions
The success of the whole endeavour depends 50% on proper preperation. Before you bring your kitten home, you need to make sure you have everything you need.
Essential shopping checklist
- Litter tray (toilet): 1 or 2 (ideally - the number of cats + 1).
- Litter: A special type for kittens or the one it was used to at the breeder's.
- Scoop: For removing solid waste.
- Mat under the tray (optional): Helps to reduce litter tracking.
- Cleaning agent: A special enzyme spray to eliminate the smell of urine if an 'accident' happens.
Choosing a litter tray for a kitten: Size and type
The market offers a huge range of options, but for a kitten, the key parameters are accessibility and safety.
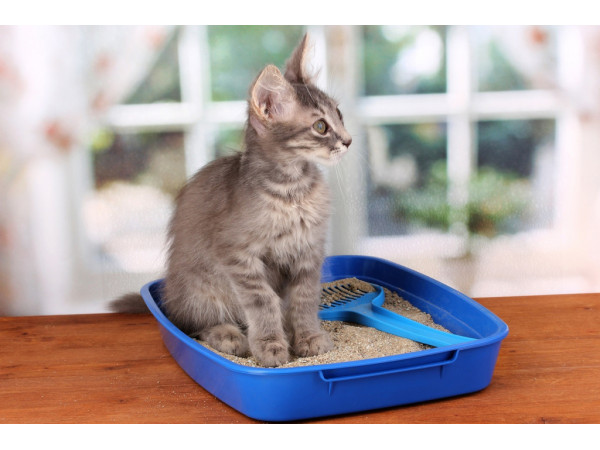
- Open tray with low sides: This is the best choice to start with. It must be easy for the little one to climb in. High sides or a flap on a covered tray might scare it or become a physical obstacle.
- Size: The tray must be spacious enough for the kitten to turn around freely and dig a little. Don't buy one that's too small 'for now' - it's better to get a medium size straight away.
- Covered trays (hooded trays): They are excellent at containing odours and litter, but they should only be introduced once the kitten is fully used to a standard tray and has grown a bit.
What litter should you choose for a kitten?
This is one of the most important aspects. The wrong choice of litter can be the reason for refusing the tray.
- Wood (pressed sawdust): Often recomended for kittens. It's natural, safe (even if the kitten tries to taste it), and absorbs odours well. The downside - it can get spread around on their paws.
- Mineral (absorbent): Small granules, similar to natural soil. Many cats instinctively like this. For kittens, it's better to choose an unscented, non-clumping version.
- Silica gel: Excellent at blocking odours and doesn't need changing often. However, the kitten might not like it due to its unusual texture and loud 'crunching'.
- Clumping (clay, corn): Very convenient for cleaning, but there's a risk the kitten might eat it. Hardened clumps in the stomach are dangerous. Most vets advise waiting until the kitten is 3–4 months old before using clumping litters.
Tip: If you got your kitten from a breeder or a rescue centre, be sure to ask what tray and litter it used there. Recreating familiar conditions is the best start.
Choosing the right location
The location of the litter tray is crucial.
- Quiet and secluded: The tray shouldn't be in a noisy, high-traffic area (like a hallway or near the washing machine). The cat needs to feel secure.
- Away from food and water: This is an instinctive requirement. Cats never go to the toilet where they eat.
- Always accessible: The door to the room with the litter tray must always be open.
Stage 2: A step-by-step guide to litter training your kitten
So, everything is ready. The kitten is home. Let the training begin.
Step 1: The first introduction
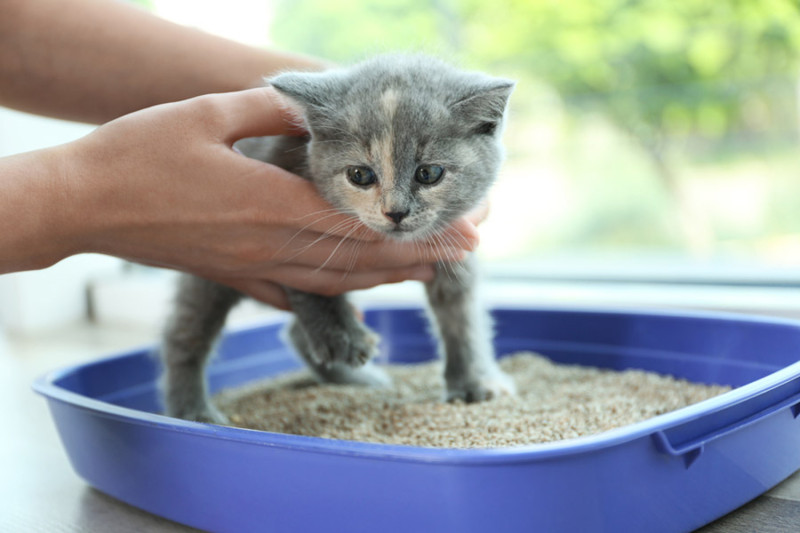
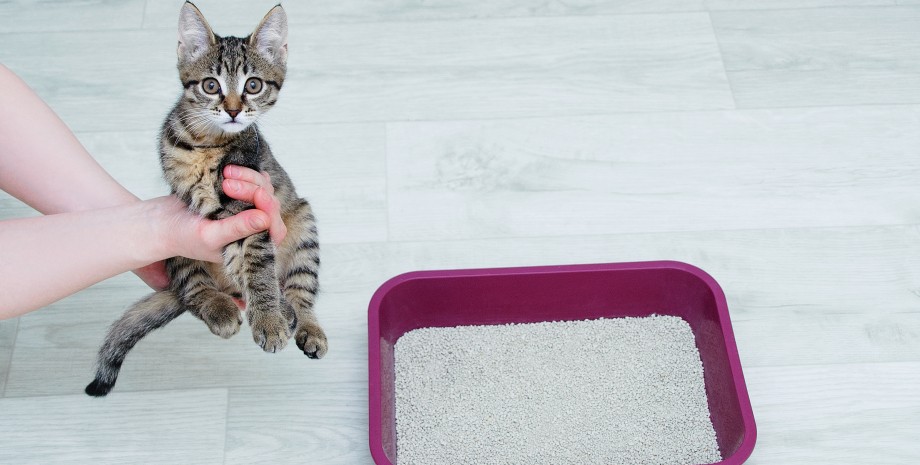
As soon as you bring the kitten home, let it look around a bit (perhaps in just one room), and then gently carry it and place it in the litter tray. Don't force it, just let it have a sniff. You can gently 'dig' in the litter with its paw to show that it can dig here. Don't expect it to understand everything straight away. The main thing is to show it the spot.
Step 2: The 'golden' moments to place it in the tray
Kittens most often need the toilet at specific times. Your job is to catch this moment and take the little one to the tray. You need to do this:
- Immediately after waking up.
- 10–15 minutes after eating.
- After active play.
Also, watch its behaviour. If the kitten starts to get restless, run about, squat in a corner, or sniff the floor - that's a sure sign. Calmly and immediately pick it up and carry it to the tray.
Step 3: Positive reinforcement
This is the most important step. When the kitten has done its business in the tray - you must praise it. Speak to it in a gentle, calm voice, stroke it, and you can give it a small treat (but don't overdo it, so it doesn't form a 'toilet = food' habit). The kitten needs to understand: 'I did it here, and my owner is pleased'.
Step 4: What to do about 'accidents'?
'Accidents' will happen. This is normal. The main thing is your reaction.
- Never punish the kitten! Don't rub its nose in the puddle, don't shout. This will only lead to the kitten becoming afraid of you and starting to hide its 'business' in hard-to-reach places (behind the sofa, under the bed).
- Cleaning up correctly. If you catch the kitten 'in the act' outside the tray, you can make a firm sound (like 'No!' or 'Ah-ah-ah') and immediately move it to the tray.
- Eliminating the smell. The 'accident' spot must be cleaned thoroughly. Don't use products with chlorine or ammonia - their smell can, on the contrary, attract the kitten back. Use a special enzyme-based odour neutraliser from a pet shop. If you don't have one, a solution of vinegar or bicarbonate of soda will do.
- A little trick: Take a piece of tissue, dip it in the puddle (if it's urine) or place a small piece of the droppings on it and put the tissue in the litter tray. Let the kitten sniff it. This will help it understand where the 'correct' smell should be.
Step 5: Cleanliness is key to success
Cats will not use a dirty toilet. Remove solid waste from the tray with a scoop 1–2 times a day. You should completely change the litter and wash the tray with soap (unscented) every 5–10 days, depending on the type of litter.
Common problems and their solutions
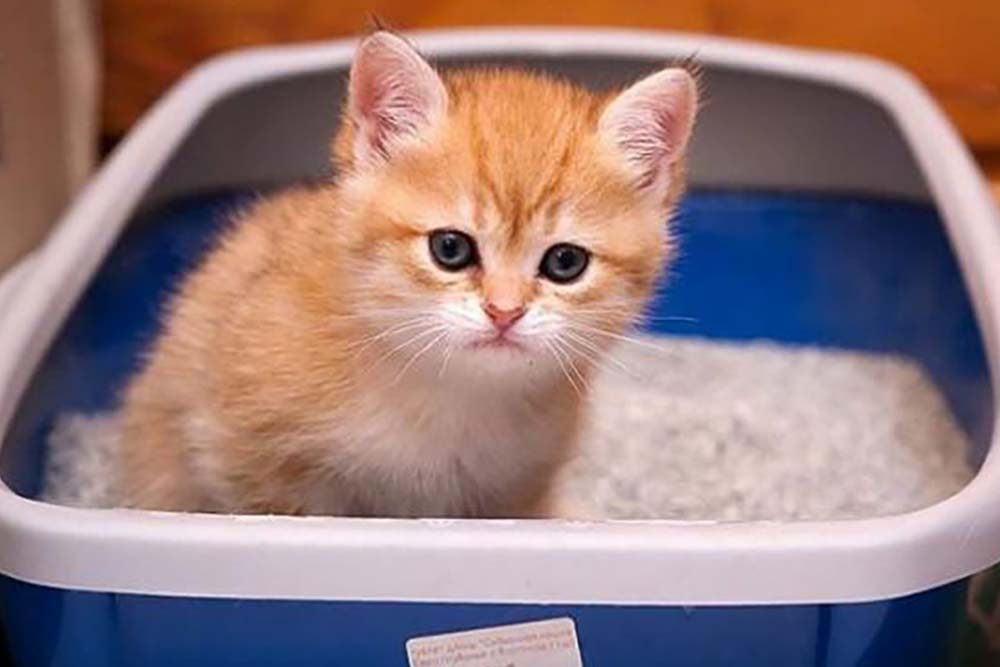
Sometimes, despite all your efforts, difficulties arise. The most common situation is the kitten not using the litter tray.
Problem: The kitten ignores the tray
- Possible reason: It doesn't like the tray or the litter.
Solution: Try putting down a second tray with a different type of litter. Perhaps your kitten doesn't like the texture or the smell. - Possible reason: Wrong location.
Solution: Move the tray to a quieter, more secluded spot. - Possible reason: Dirty tray.
Solution: Clean it more often. Some cats are extremely fussy.
Problem: The kitten goes 'next to' the tray
- Possible reason: The tray is too small or uncomfortable.
Solution: Make sure the sides aren't too high, and the tray itself is spacious enough for the kitten to get in and turn around comfortably. - Possible reason: Association with pain. Sometimes, if a kitten has constipation or a urinary tract infection, it's painful for it to go to the toilet. It might start to associate the pain with the tray.
Solution: See a vet immediately! If the kitten is squatting but nothing is happening, or it's meowing in the tray - this is an alarm signal.
Typical litter training mistakes (What not to do)
- Punishment. We'll say it again - this is the worst strategy. It destroys trust and doesn't solve the problem.
- Restricting access. Shutting a kitten in the bathroom with the tray is stressful. It needs to go there of its own free will.
- Changing the litter too often. Cats are creatures of habit. If you've found a type that works - stick with it.
- Using strong scents. Strong smells (citrus, lavender) can put a kitten off. Choose unscented litters and cleaning products.
FAQ: Quick answers to your questions
How long does litter training take?
It usually takes from a few days to a few weeks. Kittens taken from their mum often already have this skill (they learn by watching her). Kittens taken from the street may need more time.
Why is my kitten eating the litter?
This often happens with young kittens - they explore the world by tasting it. This is why it's critically important to use a safe, non-clumping litter (like wood-based), which won't harm their stomach.
Do I need to have more than one litter tray?
The golden rule is 'number of trays = number of cats + 1'. If you have one kitten, it's ideal to have two trays in different places. This gives the cat a choice and guarantees it always has access to a clean toilet.
Conclusion: Patience and love
Litter training a kitten isn't a sprint, it's a marathon. Your most important tools are patience, observation, and love. Don't scold for slip-ups, and give plenty of praise for successes. The kitten will quickly understand what you want from it, as being clean is in its nature. By creating comfortable and safe conditions, you will lay the foundation for many years of a happy and trouble-free life together.