

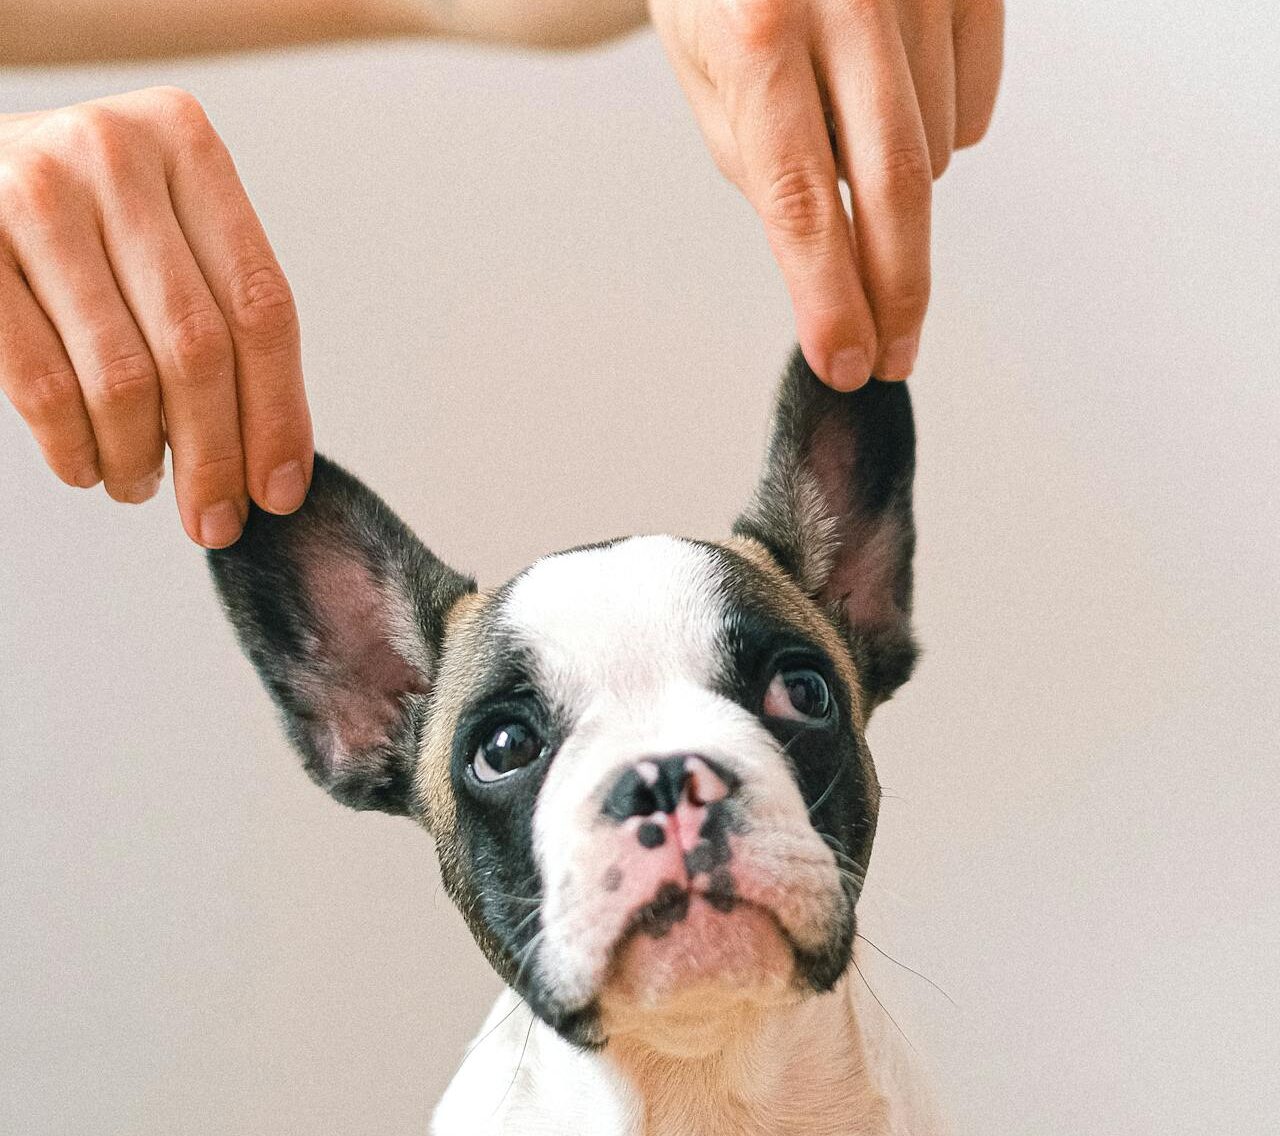
A dog’s health is a puzzle made up of many pieces: proper nutrition, active walks, playtime, vaccinations, and of course, regular hygiene. Owners often meticulously check their dog’s coat and claws, but a delicate area like the ears often gets overlooked. This is a shame, as ear problems are one of the most frequent reasons for a vet visit. Proper ear care at home can prevent most complications and keep your beloved pet comfortable. We’ll explore how to do this safely and effectively in detail on Tvaryny.
This procedure isn’t just a “cosmetic fix,” but a vital part of preventing serious illnesses. Knowing how and when to clean your dog’s ears will allow you to spot the first warning signs in good time and maintain your four-legged friend’s hearing and overall health for many years to come.
Why Regular Dog Ear Cleaning is a Necessity, Not a Luxury
Unlike human ear canals, a dog’s ear canal has a complex L-shape – with both vertical and horizontal sections. This structure creates ideal conditions for the accumulation of dirt, earwax, moisture, and dead skin cells. This mixture is a perfect breeding ground for bacteria and fungi, leading to inflammation, discomfort, and potentially causing otitis – a painful and unpleasant condition.
Regular dog ear care allows you to:
- Prevent infections: Timely removal of dirt and excess earwax significantly reduces the risk of bacterial and fungal otitis.
- Avoid ear mites: Clean and dry ears are an unfavourable environment for these parasites.
- Spot problems early: During cleaning, you can inspect the ear flap and notice redness, rashes, swelling, or unusual discharge at an early stage.
- Prevent earwax plugs from forming: These can block the ear canal, causing pain and hearing impairment.
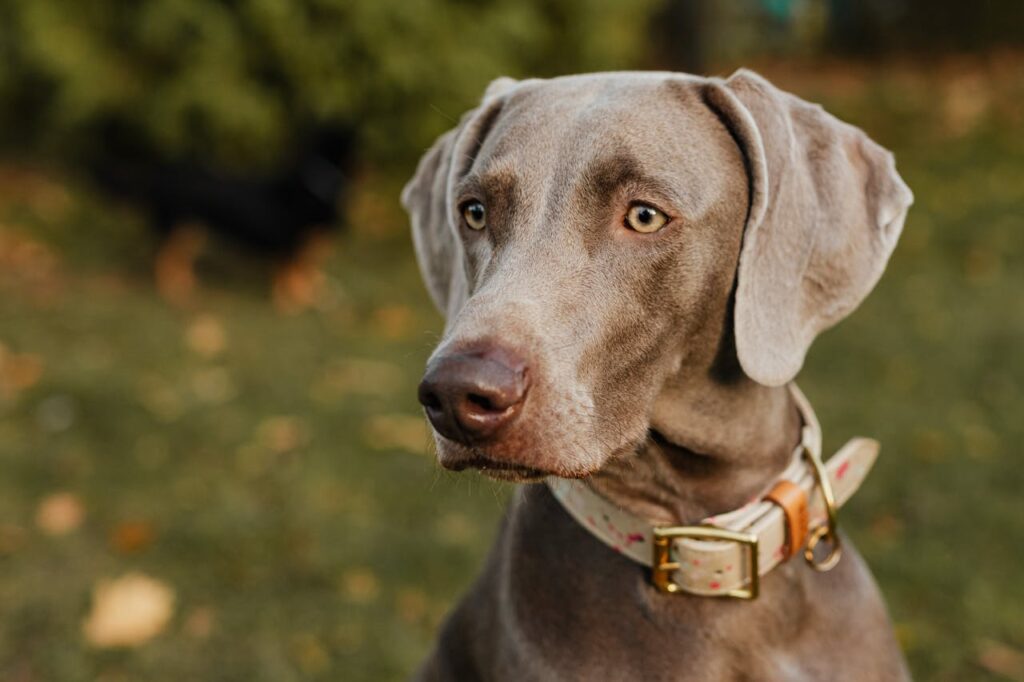
Warning Signs: When to Clean Ears, and When to Rush to the Vet
It’s crucial to distinguish between the need for routine hygienic cleaning and symptoms that indicate illness. Incorrect actions during an active inflammatory process can only worsen the animal’s condition.
Signs it’s time to clean their ears
You should perform a hygienic procedure if you notice:
- A small amount of light brown earwax in the visible part of the ear flap.
- A slight, “sweetish” smell from the ear, without a strong unpleasant odour.
- The dog shows no signs of pain or discomfort when their ears are touched.
Symptoms requiring an immediate vet check
You absolutely must not clean the ears yourself if you see signs of ear inflammation in your dog. Immediately contact a vet if there is at least one of these symptoms:
- Strong, unpleasant smell: Putrid, sour, or yeasty.
- Excessive discharge: Yellow, greenish (pus-like) or dark brown, resembling coffee grounds (a sign of ear mites).
- Redness and swelling: The inside of the ear flap is bright red, swollen.
- Pain: The dog whimpers, pulls away when you try to touch their ear, doesn’t allow their head to be examined.
- Behavioural changes: The animal shakes its head, rubs its ears on furniture and the floor, tilts its head to one side, loses balance.
- Visible damage: Scratches, wounds, ulcers inside or outside the ear.
Your Clean Ear Arsenal: What to Use to Clean Your Dog’s Ears
For the correct procedure, you’ll need a small but specialised set of tools. Choosing the right products is 90% of the success.
- Special ear cleaning solution. This is the most important component. Buy it only from veterinary pharmacies or pet shops. Such solutions have a balanced pH, dissolve wax and dirt, without irritating the skin. Never use hydrogen peroxide, alcohol, vinegar, chlorhexidine (without a vet’s prescription) or ordinary water.
- Cotton pads or gauze wipes. They’re soft, absorb moisture and dirt well, without leaving lint.
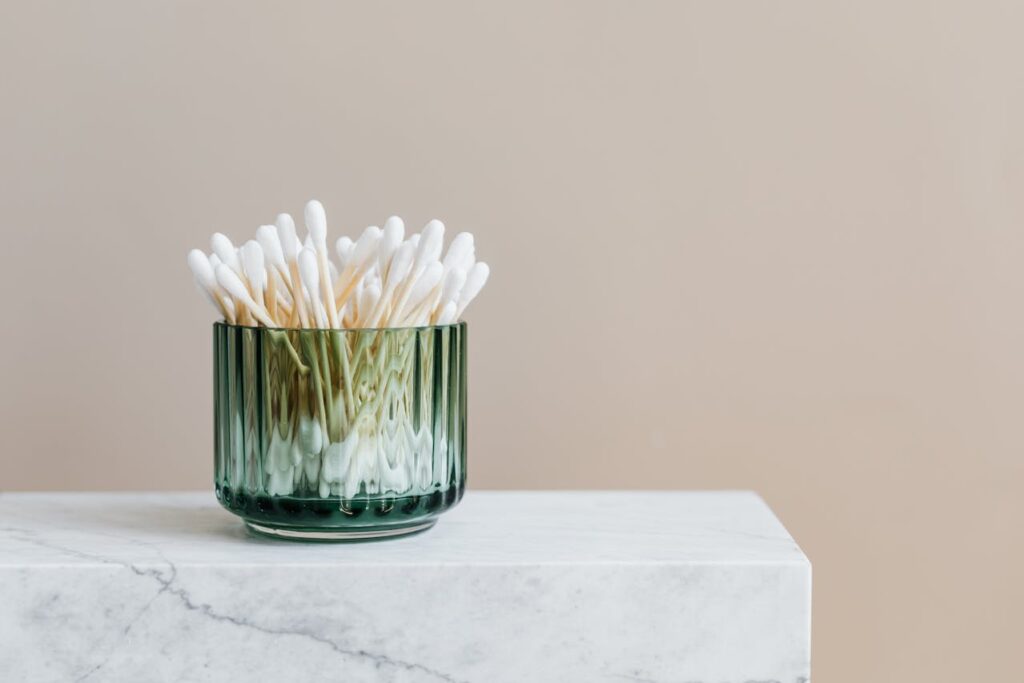
- Cotton buds (Q-tips) – ONLY for cleaning external folds. DO NOT insert a cotton bud deep into the ear canal! You could push dirt further in and damage the eardrum.
- A towel. You’ll need it to protect yourself and your furniture from splashes when your dog shakes their head.
- Treats. An essential item for reward and creating a positive association with the procedure.
Step-by-Step Guide: How to Clean Your Dog’s Ears at Home
The main rule is to stay calm and confident. Dogs are highly perceptive to their owner’s mood. If you get nervous, your pet will also start to worry.
Step 1: Create a Calm Atmosphere
Choose a time when your dog is relaxed, for example, after a walk. Perform the procedure in a quiet, familiar place. Talk to your pet in a gentle voice and stroke them.
Step 2: Prepare Everything You Need
Lay out the solution, cotton pads, and treats so everything is within easy reach. If you have a large dog, it’s comfortable to sit on the floor next to them. A small dog can be held on your lap.
Step 3: Examine and Apply Drops to the Ear
Gently lift the tip of the ear with one hand to straighten the ear canal. With the other hand, drop a few drops of the solution into the canal (check the product instructions for the exact amount). Don’t touch the skin of the ear with the tip of the bottle to avoid transferring bacteria.
Step 4: Massage the Base of the Ear
This is the key moment! While still holding the ear, massage its base for 20-30 seconds. You should hear a characteristic “squelching” sound – this means the solution has spread well inside and is dissolving the dirt.
Step 5: Allow Your Dog to Shake Their Head
Let go of the ear and step back. Your dog will instinctively start shaking their head vigorously. This is normal and even necessary – it helps the dissolved wax and dirt, along with any remaining solution, to come out. Be prepared for splashes!
Step 6: Clean the Ear Flap
Take a cotton pad or gauze wipe, wrap it around your finger, and gently wipe the visible part of the ear flap and its folds, collecting all the dirt that has come out. Change pads until they remain clean. Remember: do not go deep into the canal!
Step 7: Praise and Reward
Repeat the procedure for the other ear. Once you’re finished, make sure to praise your dog, give them their favourite treat, and play with them. Your aim is for dog ear cleaning to be associated with something pleasant.
Common Mistakes: What You Absolutely MUST NOT Do
- ❌ Using cotton buds to clean the canal. This is the most common and dangerous mistake.
- ❌ Pouring home remedies into the ears. Peroxide, alcohol, vinegar, oils – all of these can cause chemical burns, dry out the skin, or create an oily film, which will only worsen the situation.
- ❌ Cleaning ears too often. Healthy ears have a self-cleaning mechanism. Excessive hygiene (more often than once every 1-2 weeks without a vet’s recommendation) disrupts the natural protective barrier.
- ❌ Ignoring pain. If your dog resists and shows they’re in pain, stop. This is a sign of inflammation that requires treatment, not cleaning.
Specifics of Ear Care for Different Breeds
Some dogs require more meticulous ear care due to their anatomical features:
- Dogs with floppy ears (Cocker Spaniels, Basset Hounds, Dachshunds): Their ears are poorly ventilated, creating a warm, moist environment ideal for infections. They need more frequent checks and cleaning.
- Dogs with hair in their ear canals (Poodles, Schnauzers, Terriers): Hair traps wax and dirt. It needs to be regularly plucked or trimmed (during grooming).
- Water-loving dogs (Labradors, Retrievers): After every swim, it’s important to thoroughly dry their ears to prevent “swimmer’s ear” (otitis due to moisture).
Ear Hygiene as Part of Comprehensive Care
Don’t forget that your pet’s health is a comprehensive system. Ear problems can be linked to allergies, a general weakening of the immune system, or other systemic diseases. Therefore, it’s important to look after all aspects of your animal’s life. For example, regular check-ups and supporting joint health will help maintain your dog’s activity, while proper dental care prevents the spread of bacteria throughout the body. All of these together create a strong foundation for your friend’s long and happy life.
Frequently Asked Questions (FAQ)
How often should I clean my dog’s ears?
For most dogs with healthy ears, a weekly check and cleaning once every 2-4 weeks are sufficient. Breeds at higher risk might need cleaning every 7-10 days. The main guide is the condition of their ears.
Can I use hydrogen peroxide to clean my dog’s ears?
No, it’s absolutely not recommended. Hydrogen peroxide can cause irritation, pain, and damage to healthy cells in the ear canal, as well as create air bubbles that cause severe discomfort to your dog.
What if my dog won’t let me clean their ears?
Acclimatise them to the procedure gradually. Start with simply touching their ears, rewarding them for being calm. Then, mimic cleaning with your finger, then with a cotton pad. Be patient. If your dog shows aggression or strong fear, they might be experiencing pain – consult a vet or a professional groomer. A standard vet consultation in the UK typically costs between £40 and £60. Professional ear cleaning by a groomer can range from £15 to £30, depending on the salon and the extent of the service.
Conclusion
Regular and proper ear cleaning is a demonstration of your love and care. Armed with the knowledge from this article, you can transform a potentially stressful procedure into a calm ritual that will preserve your pet’s health and strengthen your bond. Be attentive, consistent, and don’t be afraid to seek professional help when needed.