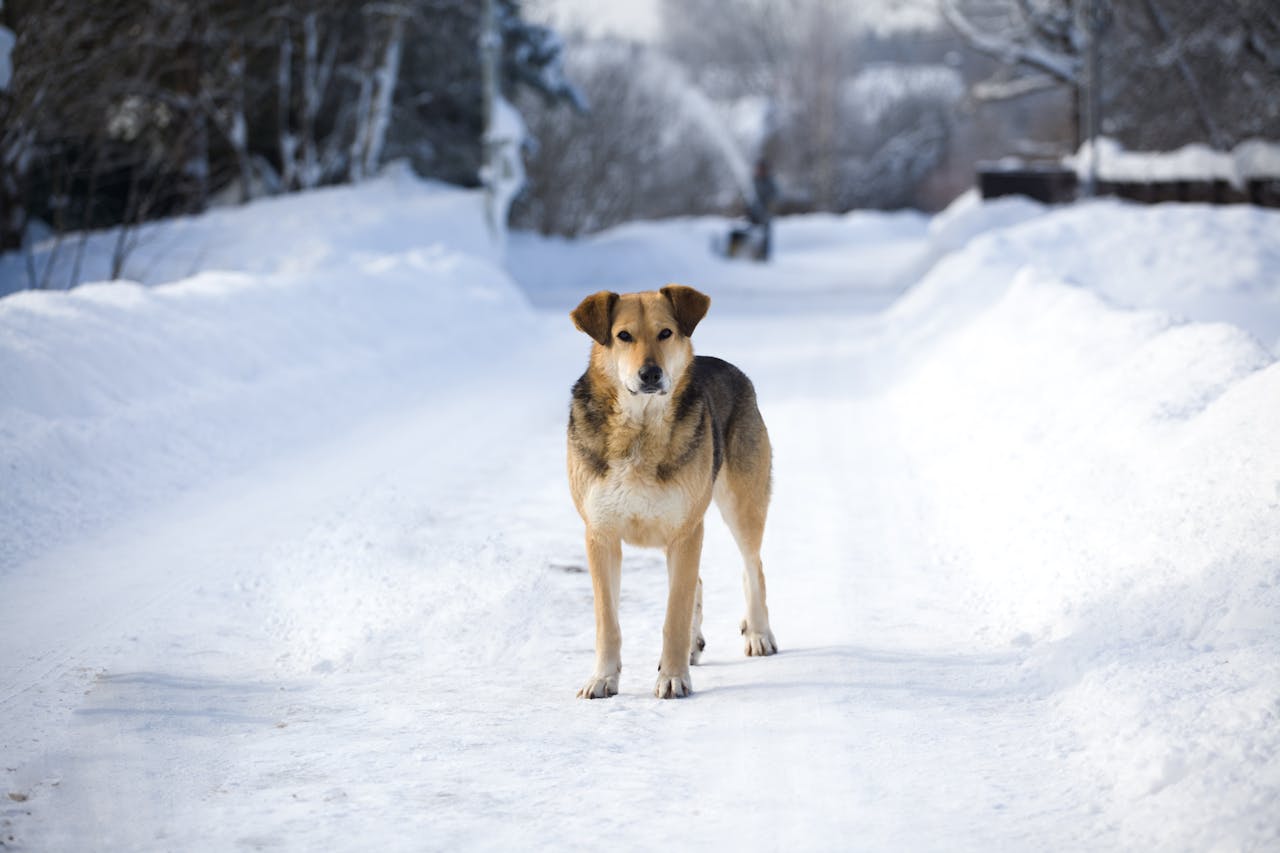
Winter is a magical time when the ground is covered in a blanket of white and the air turns crisp and fresh. For many dogs, it’s the best time of year for games and active walks. But for their owners, winter brings new worries. Snow, ice, and especially the ice melts generously sprinkled on city sidewalks, can become a real ordeal for a dog’s delicate paws. How can you keep your four-legged friend healthy and comfortable during this challenging season? We’ve prepared the most comprehensive guide for you, and you can read more about this on Tvaryny.
Inadequate protection for a dog’s paws in winter can lead to painful cracks, chemical burns, frostbite, and severe discomfort. However, there’s no need to despair and keep your pet cooped up indoors until spring. There are plenty of effective ways to protect their paws, and today we’ll go over each one in detail.
The Main Winter Dangers for Dog Paws: Know Your Enemy
Before we talk about protection, it’s important to understand what we’re dealing with. In the winter, your dog’s paws are exposed to a whole range of aggressive factors.
1. Harsh Ice Melts
This is probably the biggest problem for city dogs. The mixtures used to salt roads and sidewalks usually contain rock salt (sodium chloride), calcium chloride, magnesium chloride, and sand. Here’s why they’re dangerous:
- Chemical burns: Salt eats away at the delicate skin of the paw pads, causing irritation, redness, sores, and severe pain. The dog may start limping and constantly lick its paws.
- Drying and Cracking: These agents draw moisture out of the skin, making the pads dry, rough, and prone to developing deep, painful cracks.
- Poisoning: After a walk, a dog will instinctively lick its paws clean. Ingesting these chemicals can cause digestive upset, vomiting, and in severe cases, serious poisoning.
2. Low Temperatures and Ice
Even without chemicals, severe frost and icy surfaces carry their own risks:
- Frostbite: With prolonged contact with frozen ground or snow, the blood vessels in the paws constrict, impairing circulation. This can lead to frostbite. The first signs are pads that become pale, cold to the touch, and lose sensitivity.
- Snow and Ice Buildup: In long-haired breeds, ice balls can form between their toes. These pull at the fur, chafe the skin, and make it difficult for the dog to walk normally.
- Cuts: The sharp edges of crusted snow or pieces of ice can easily cut the paw pads, especially if they are already weakened by the cold and dryness.
Prevention is the Best Protection: Prepping Paws for Winter
Proper protection for a dog’s paws in winter doesn’t start right before a walk-it starts well in advance. A few simple preventive steps will significantly reduce the risks.
- Trimming the fur between their toes: This is a mandatory procedure for long-haired dogs. Carefully trim the excess fur on and between the pads. This will prevent ice balls from forming and make the paws easier to wash.
- Clipping their nails: Nails that are too long force a dog to place its paw incorrectly, which increases the contact surface of the pads with the cold ground and ice melts.
- Toughening up the paw pads: If your pet has very delicate skin on its paws, you can start rubbing in special strengthening products or a simple wax 2-3 weeks before the frost hits. This will make the skin more resistant to damage.
Choosing Your Weapon: Paw Protection for Before a Walk
There are two main ways to protect paws right before heading outside: using protective products (waxes, balms, sprays) or special boots. Let’s look at the pros and cons of each.
Option 1: Protective Wax or Balm
This is the most popular method. A special product is applied to the paw pads and the skin between the toes, creating a thin, waterproof barrier. This barrier protects against moisture, frost, and partially from ice melts.
What Can You Put on a Dog’s Paws to Protect Them from Ice Melt?
- Specialized Waxes: Sold in pet stores. It’s best to choose products based on natural components: beeswax, lanolin, calendula oil, propolis. They not only create a film but also nourish the skin.
- Petroleum Jelly: A cheap and accessible option, but less effective. It creates a greasy film that wears off quickly and protects poorly from severe frost.
- Baby Cream: Not the best choice. It absorbs quickly and doesn’t create the necessary protective layer.
Pros of Wax:
- Doesn’t restrict the dog’s movement.
- Maintains the paw’s natural contact with the ground.
- Easy to apply.
Cons of Wax:
- The protective layer wears off during the walk (especially a long one).
- Doesn’t protect against cuts from sharp ice.
- Can leave greasy marks on the floor at home.
Bonus: DIY Protective Paw Wax Recipe
You can prepare an effective and natural remedy yourself. You will need:
- 40g beeswax
- 40ml olive oil (or sweet almond oil)
- 40g coconut oil
- 40g shea butter
Preparation: Melt all ingredients in a double boiler, stirring continously until a uniform consistency is achieved. Pour the mixture into a clean jar and let it solidify. Apply to the paws 10-15 minutes before going out. This wax not only protects but also nourishes and heals small cracks wonderfully.
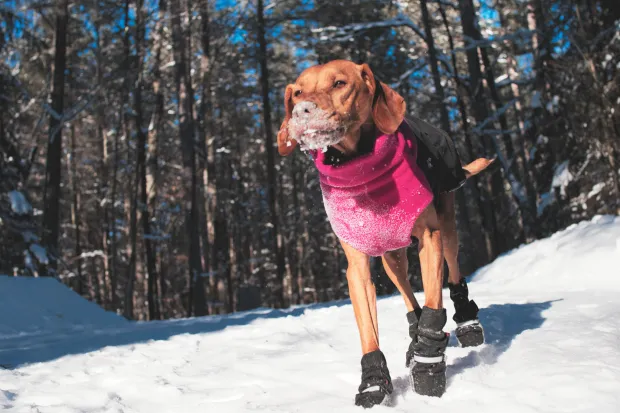
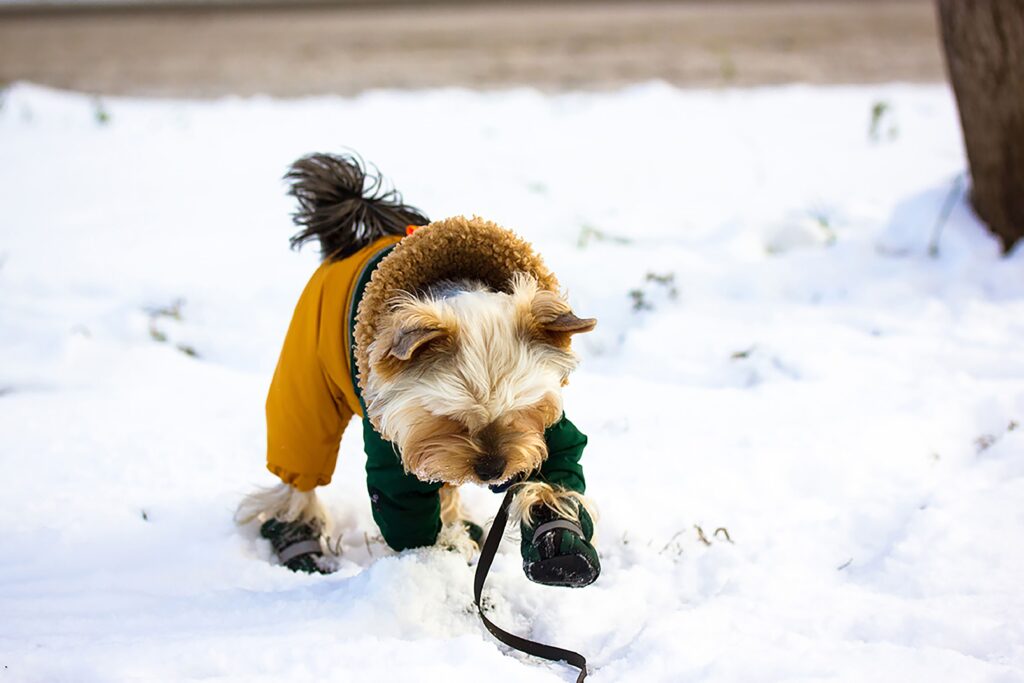
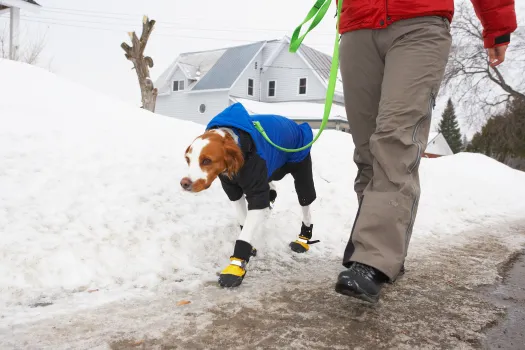
Option 2: Dog Boots
Booties or socks for dogs are the most reliable method of protection. They create a complete physical barrier between the paw and the harsh environment.
Pros of Boots:
- 100% protection from ice melts, salt, and dirt.
- Protection from cuts from ice and sharp objects under the snow.
- Keeps paws warm and dry.
- No need to wash paws after a walk-just take the booties off.
Cons of Boots:
- Not all dogs agree to wear them.
- It takes time to get them used to it.
- It’s important to get the size just right, otherwise they will chafe or fall off.
- Quality boots can be expensive.
How to Get Your Dog Used to Boots?
The key to success is positive association and gradualness. Start at home. Let the dog sniff the booties. Then, put one on for a few seconds and immediately give a treat. Repeat this, gradually increasing the time and the number of booties worn. When the dog reacts calmly to all four, try walking around the apartment. Only then should you go out for short walks. Never scold or force your dog.
The Mandatory Ritual: Post-Walk Paw Care
This is the most important step and should not be neglected, even if you used protective products. Proper care for a dog’s paws after a walk will help avoid 90% of problems.
- Washing the paws: Immediately after returning home, thoroughly wash your dog’s paws. It’s best to use warm (not hot!) water. Hot water on chilled paws can cause discomfort and worsen irritation.
- Use gentle products: If the paws are very dirty, you can use a special dog shampoo or baby soap. Don’t use regular soap, as it dries out the skin.
- Special attention between the toes: Thoroughly rinse the areas between the pads, as that’s where ice melts and dirt accumulate.
- Thorough drying: Pat the paws dry with a soft towel. It’s important to dry the skin between the toes completely, as moisture can lead to fungal infections.
- Inspection for injuries: After washing, carefully inspect the pads for any crakcs, cuts, redness, or swelling.
- Applying a soothing balm: After the paws are completely dry, apply a moisturizing or healing balm to the pads. This will help restore the skin and prevent cracks.
Warning Signs: When to Act Immediately
Sometimes, despite all efforts, problems still arise. It’s important to recognize the symptoms in time and know how to provide first aid.
Signs of Chemical Burns from Ice Melt:
- The dog suddenly starts limping, holding up a paw during a walk.
- The paw pads and the skin between them are severely reddened.
- The dog persistently licks or chews at its paws.
- Blisters or sores may appear.
What to Do: Immediately return home and thoroughly rinse the paws with a large amount of cool running water for 10-15 minutes. Afterward, treat the affected area with a chlorhexidine solution and apply a healing ointment (e.g., with panthenol). If the burn is severe, be sure to contact a veterinarian.
Signs of Frostbite on a Dog’s Paws:
- The skin on the pads becomes pale, bluish, or gray.
- The paws feel very cold and hard to the touch.
- The dog may lose sensitivity in the paw.
- After warming, the affected area becomes red, swollen, and painful.
What to Do: Immediately take the dog to a warm room. Never rub frostbitten paws with snow or pour hot water on them! This can cause even more tissue damage. You can make a warm bath for the paws (water temperature 37-39°C or 98-102°F) or apply a warm compress. After warming, gently dry the paw, apply a loose, clean bandage, and urgently go to a veterinary clinic.
Conclusion: Simple Care for a Happy Winter
As you can see, protecting a dog’s paws in winter is not rocket science, but a set of simple and regular actions. Preparation, protection before a walk, and thorough care after-these are the three cornerstones on which the health of your pet’s paws rests. Choose the method of protection that best suits you and your dog-whether it’s wax or dog boots-and don’t forget the mandatory paw washing.
May winter bring you and your four-legged friend only joy, fun games in the snow, and cozy evenings in a warm home. And healthy paws will allow you to enjoy every moment of these wonderful walks.